< Support Hub 💻
How to Create A Branch

You may need to create a branch if your business is expanding and for example, opening a new restaurant in your ever-growing chain.
Overview
Video
In this short video, you will see how to name a branch, assign it to the parent branch, enrol courses and adjust some settings.
Once you have completed these steps you will need to tell us by emailing [email protected]. This is because there are some additional settings checks we need to apply.
Creating a Branch
Naming and Assigning to Parent Branch
First of all, please click on branches.

Provide a branch name and then assign that to your parent branch. For example, you may have an overseeing North West Head Office, this will sit within this.
Please leave blank Domain name for branch.

Branch
Settings
It’s important to review the branch settings. Please provide a Site name.
This is the alias name the platform will use when sending emails to your learners.
“Hi Emily, **Site name / Red Lion Pub** has invited you to enrol on these selected courses…”
Leave Language and Theme as default so your head branch’s branding flows through automatically.

Branch
Enrolling Courses into a Branch
The next question is: are courses going to be available for this branch to use?
This depends if you are going to have a manager on-site for this branch. They will be in charge of enrolling learners. If that’s not the case you don’t need to add courses as your parent branch/head office will take care of this.
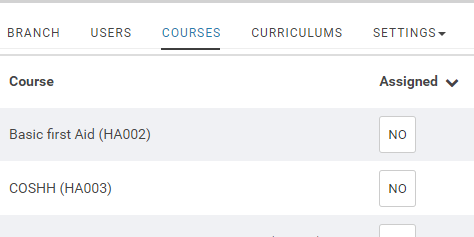
If you want your manager to enrol users from this branch level you will need to add courses. Within the branch > click courses > hit yes next to each course you would like to assign.
Or a faster method would be… Home > Reports > Courses > Mass Actions >Add to Branch > Add to New Branch.

Final step: Inform Expert LMS
Once you have created a new branch please email [email protected] as we have some final steps to verify and apply some additional settings.